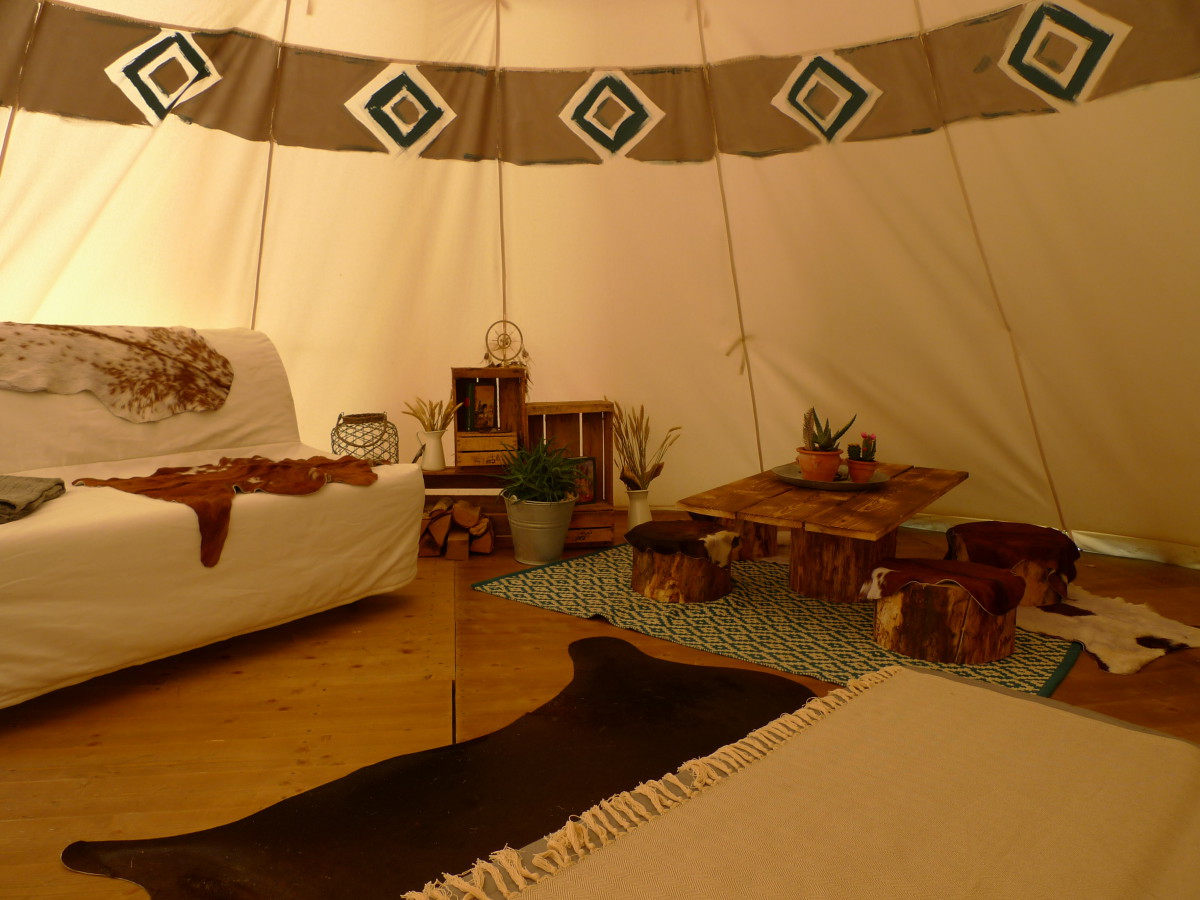
THE INTERIOR
It pays to pay a little attention to the interior design in a tepee. The original Native American décor is well thought out and gives a clue as to how best to stay or stay in the tepee.
BASIC SETUP
By basic equipment we mean seating and lounging opportunities. The Indians used willow or hazelnut rods to make so-called “baking residues”. You could sleep, sit and work on them. The simplest way to set up a night camp was to cover the whole tent with enough bison skins. As a rule, we no longer have this option today. If you like it as authentic as possible, you can make a piled bed with branches (as shown below).
STORAGE
For the storage of objects, the Indians used so-called "parfleschen". A kind of suitcase made of raw, painted animal skins. In it, the Indians kept clothes, tools and food. For smaller things a variety of bags and sacks were used, which were hung on the rods.
"For the practical life in the tepee, it is good to organize all things as systematically as possible."
Source: Laubin
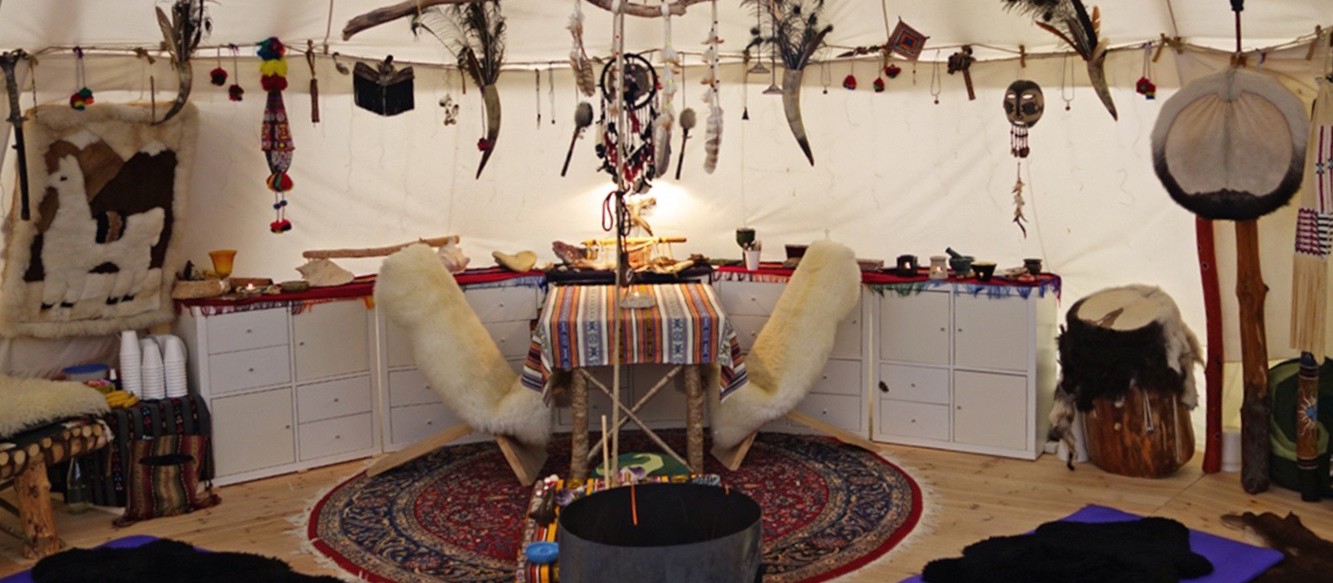
THE ROOM DISTRIBUTION
The rear part of the tipi was called "Chatka". The religious and sacred objects were there. The groceries and household items were placed on the south side. Firewood and weapons were close at hand at the entrance.
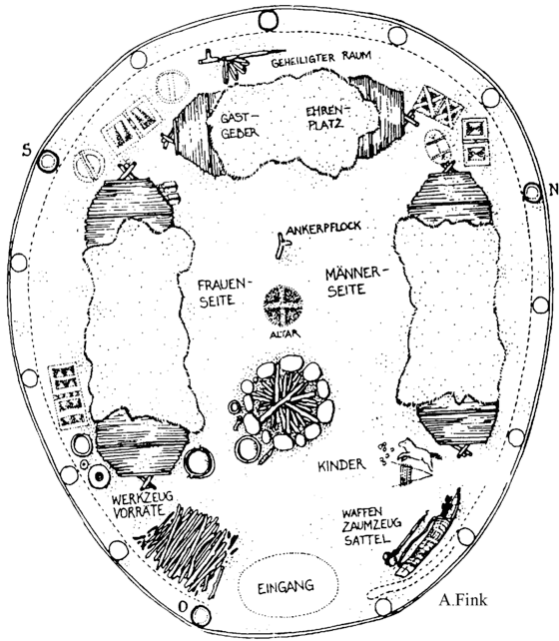
The Indians inaugurated a new home with a party and gifts were made for the new tipi owner. The medicine men prayed for success, happiness, and long life for the owner. After the inauguration, the tipi was allowed to be set up as a living space and was now protected from disaster and storms.
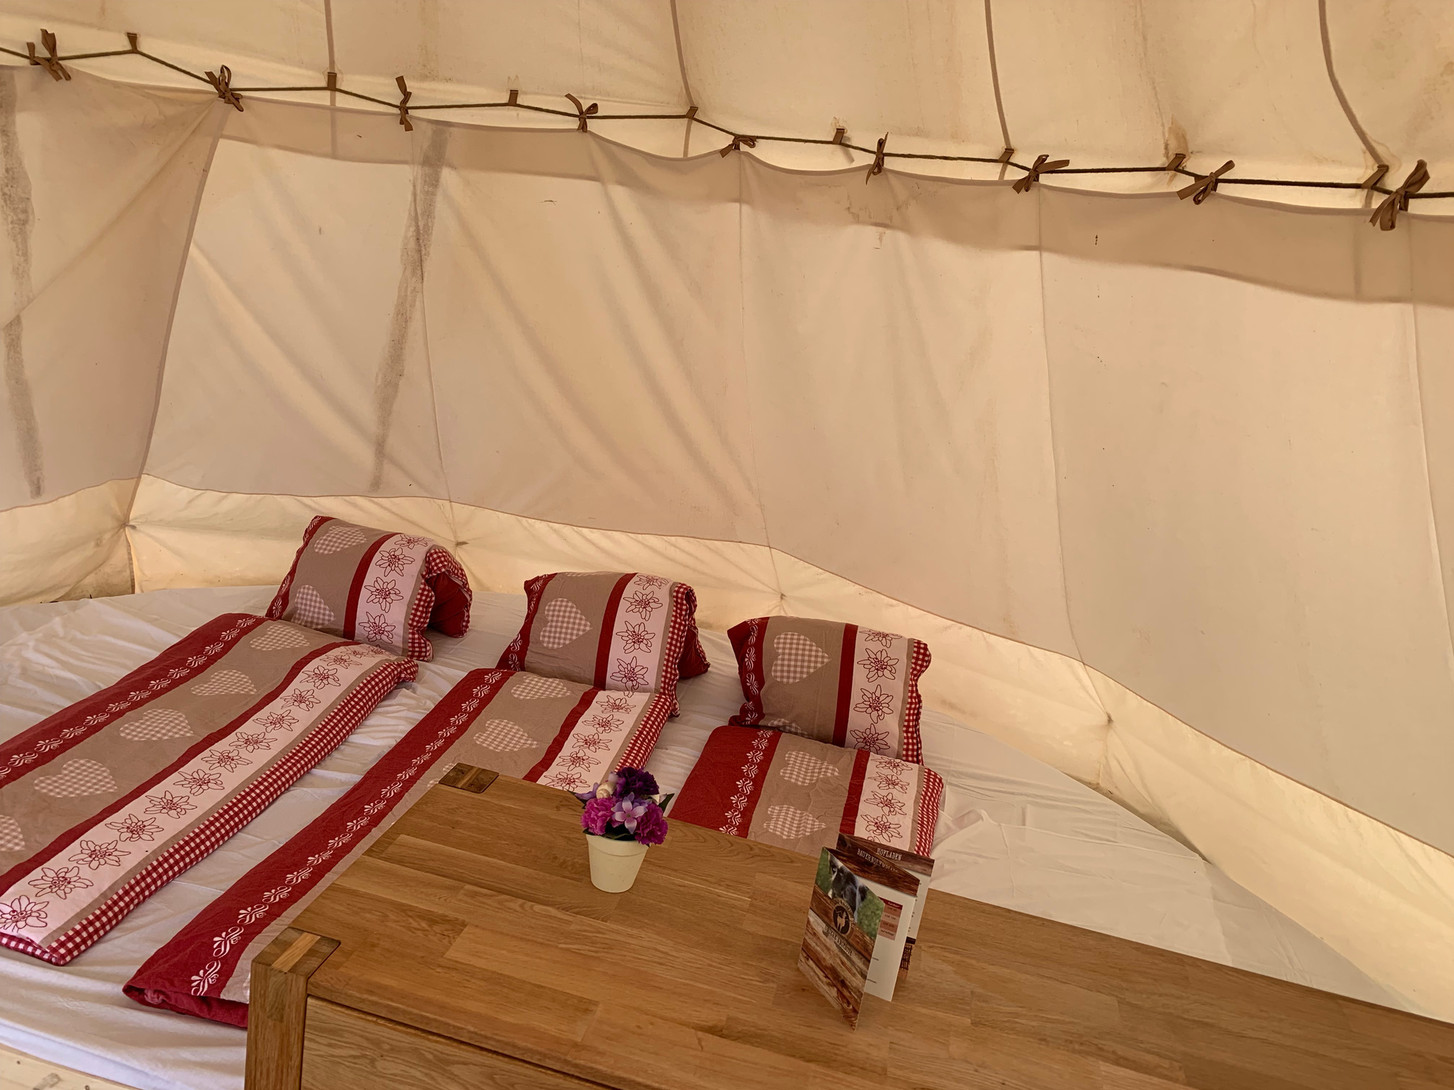
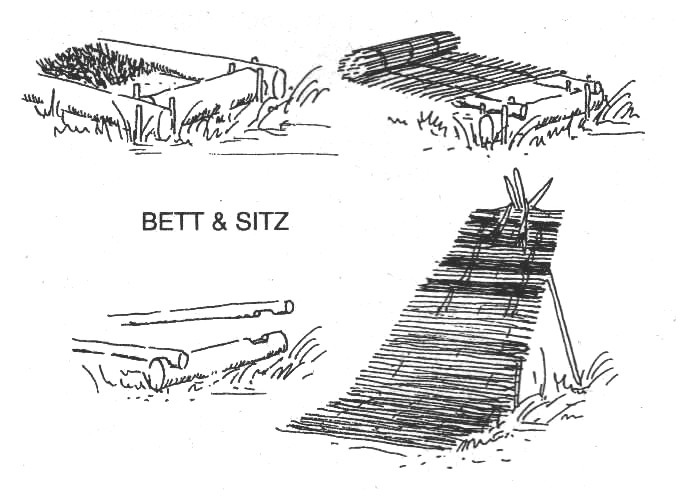
THE MANUFACTURE OF BEDS
First, a frame is laid that is 100cm wide and 180-200cm long as required. We make this frame from small, smooth rods approximately 10-12cm thick. We secure the ends with small stakes in the ground so that the construction does not shift. We fill the inside with cut green spruce or fir branches until a layer is about 20 cm thick. Straw or hay can also be used for filling. With this variant, however, the contents have to be changed regularly, because straw and hay decompose faster with moisture. Then dcover this layer with a sturdy cloth. Any blankets or skins can be laid out on top until a comfortable base is created. To achieve good insulation, it is better to put more blankets under the body than on top.
If you want to save yourself the trouble of making a bed yourself, you can also use wooden pallets and mats. For reasons of space, a thick layer of wood chips (without bark) is suitable for a dormitory. The wood chips insulate very well and offer a pleasant lying surface with a thin mat. The North Indians also used a type of sleeping bag to spend the night in nature. In the prairie they wrapped themselves in furs and blankets.
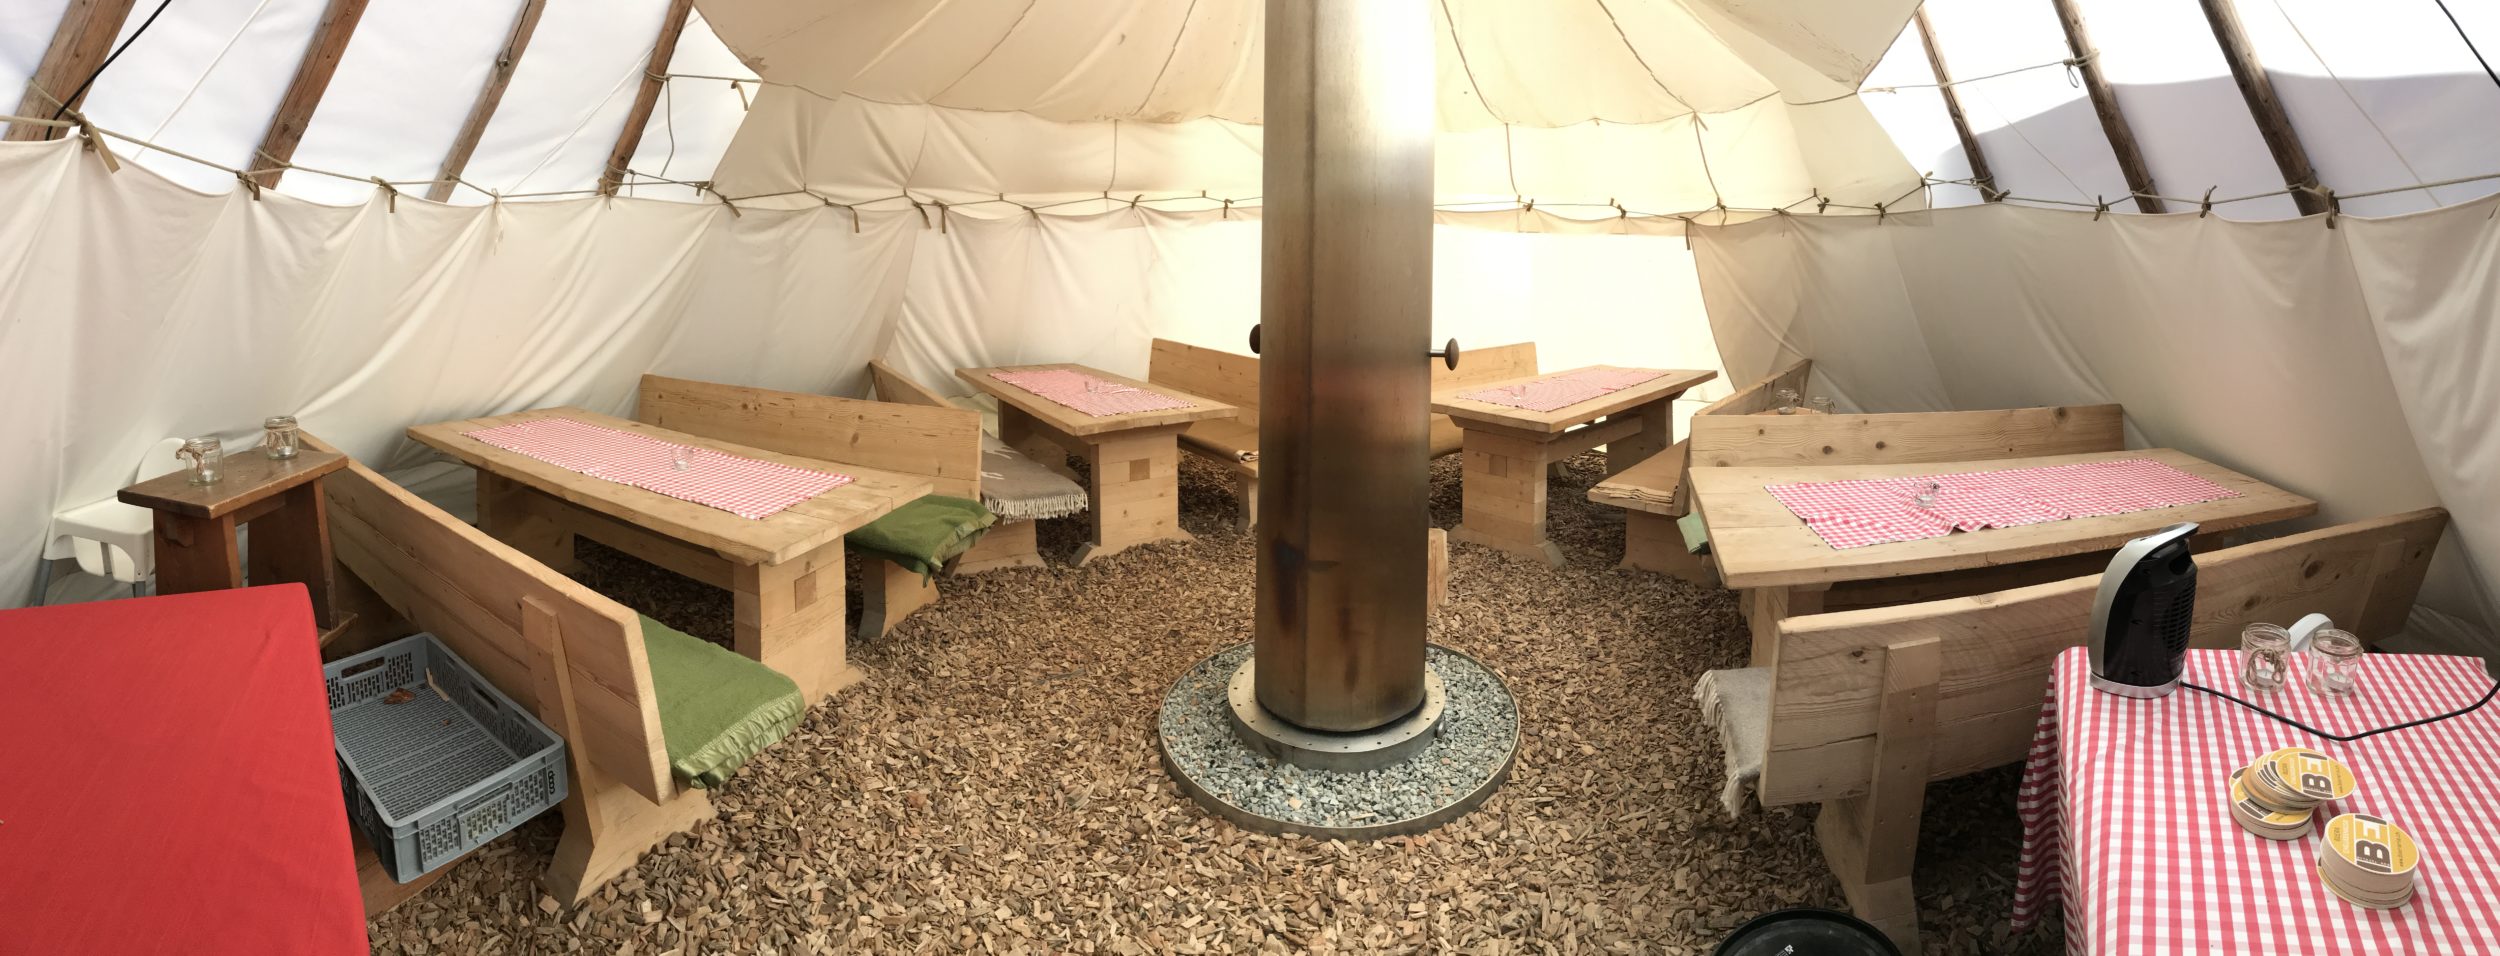
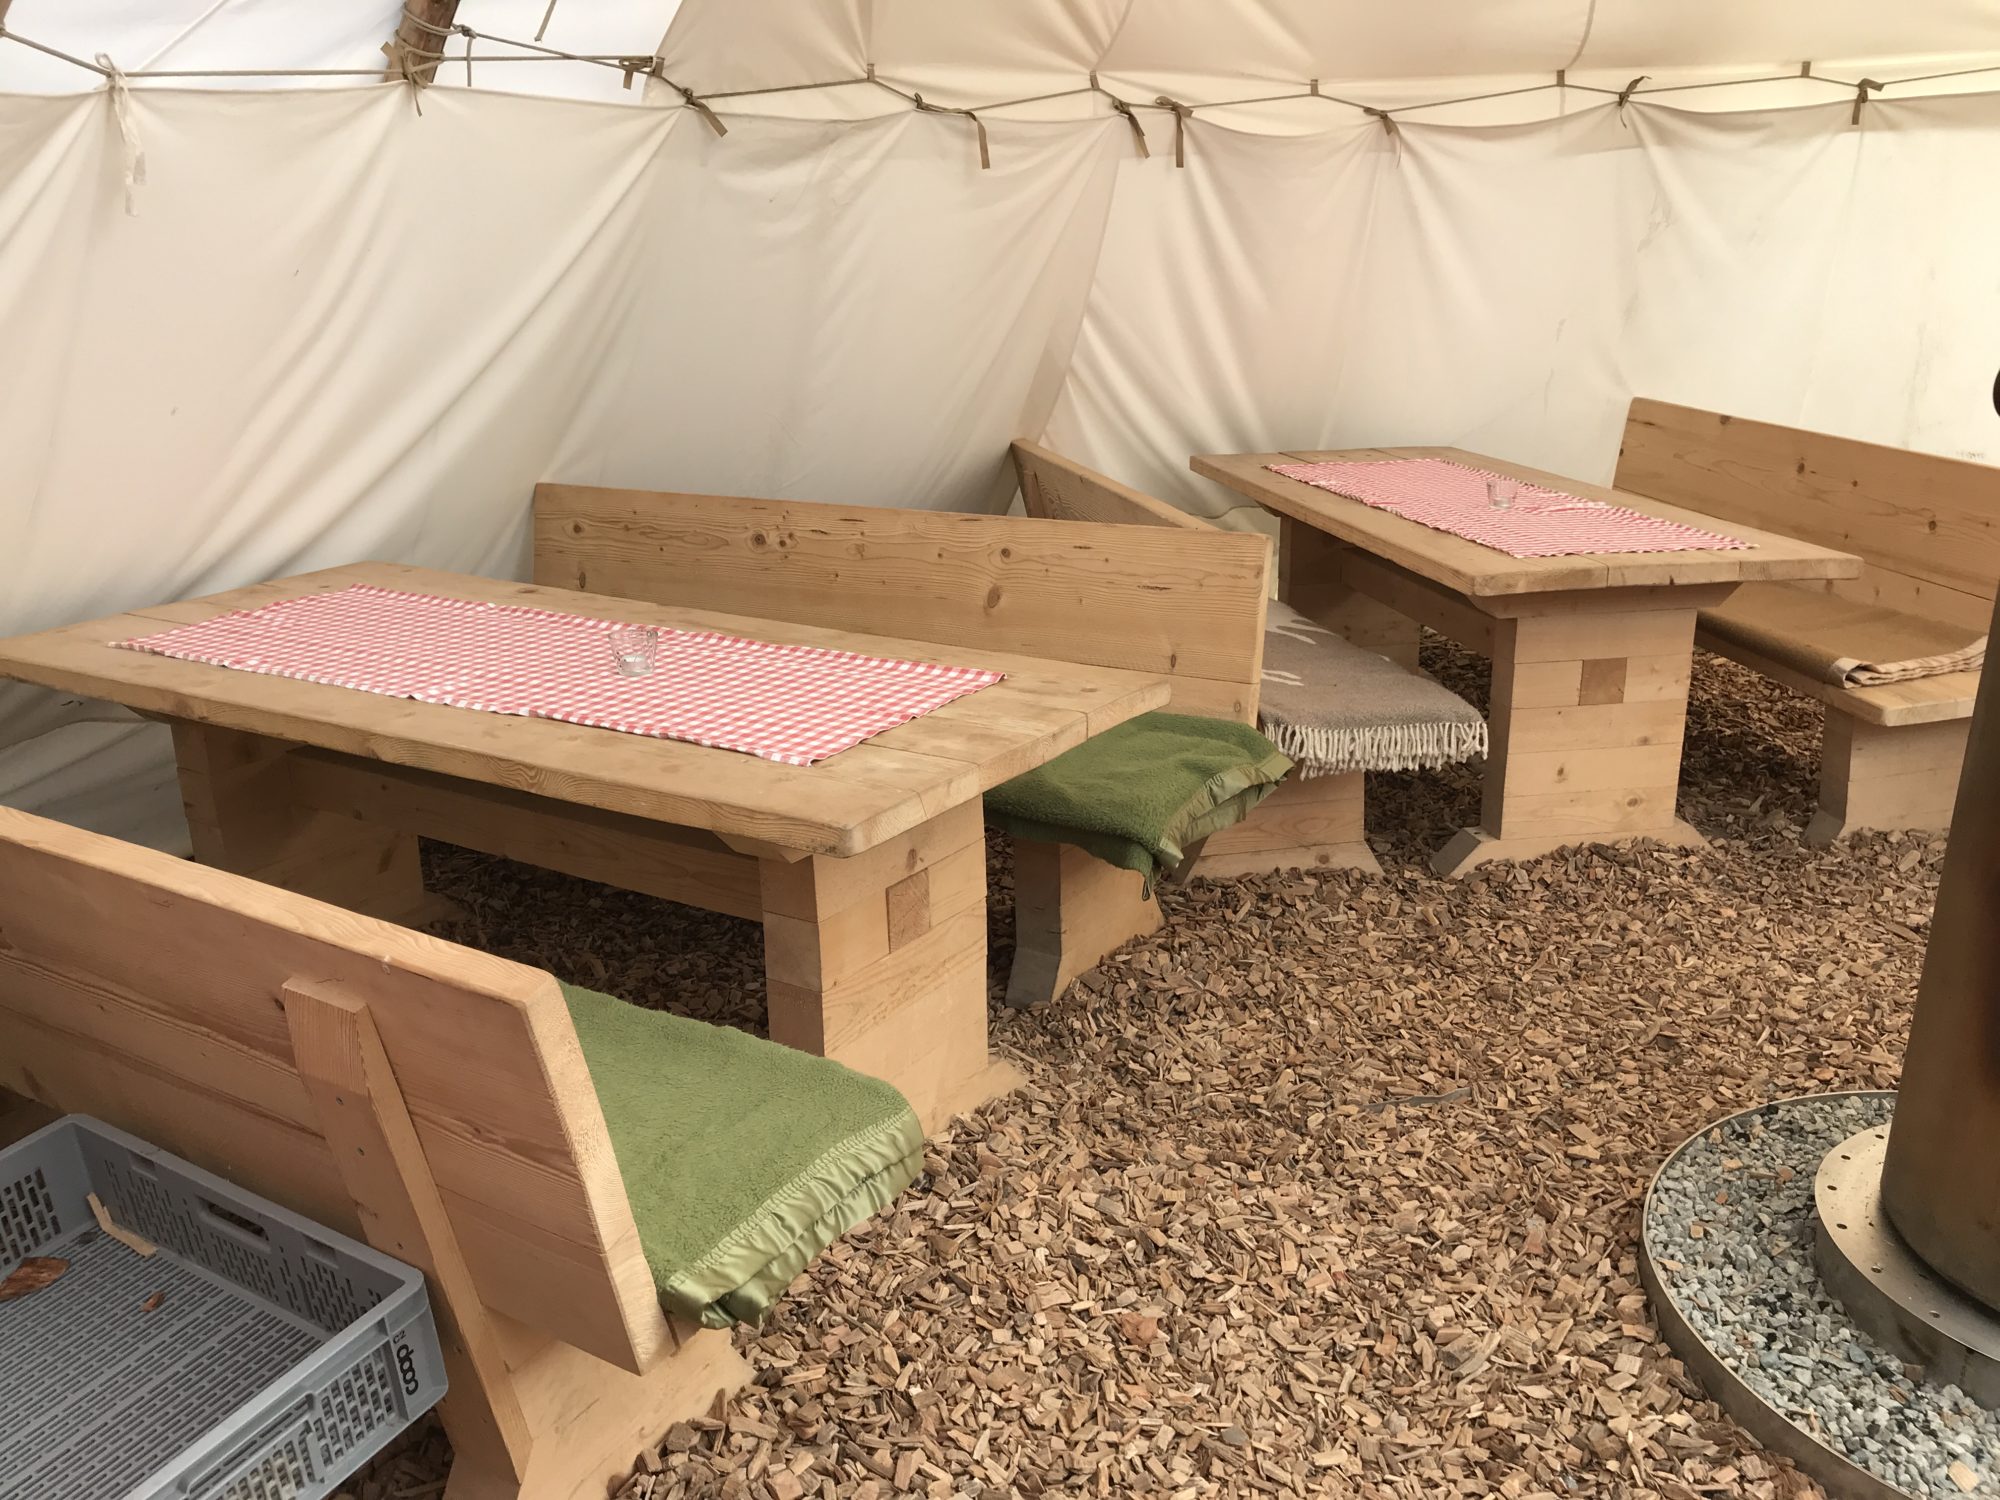
MAKING SITTING
The «Backrests» consist of pencil-thick willow or hazel rods, which are tied together with cords to form a mat 150 cm long. The mat is 60cm wide at the top and 90cm at the bottom. If you like, you can paint the rods in different colors to create horizontal stripes or decorate them with fringes.
For the support you need 3 rods of 120-150cm length, which are tied together to form a tripod. The tripod is the same construction as a tipi tripod. The mat is hung on the tripod with the narrower part facing up. The wide part of the mat serves as a seat and rests on two cross-shaped logs. The «Backrests» are very convenient and stylish. Covered with furs, they become a real armchair.
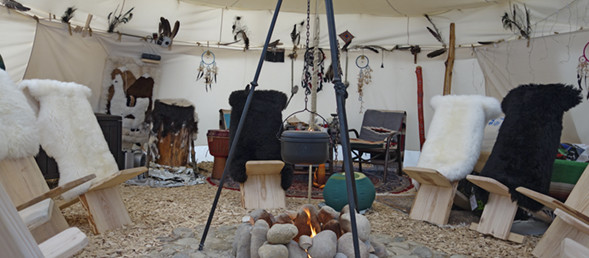
Gallery